How to Grow an Organic Herb Garden
Why Grow an Organic Herb Garden?
Herbs are excellent flavor enhancers for our meet, pasta, and vegetable dishes.
Not only do herbs add flavor to our food, but they also can provide to us added nutrients.
By growing our own organic herb garden, we can have fresh, chemical-free, herbs any time we want.
By growing an organic herb garden, we can more fully appreciate the full taste of the herbs.
When the chemicals are used in the herb growing process, the natural taste of the herbs is altered.
Once you use herbs from your own organic herb garden, you will taste what you have been missing.
Type of seeds
When it comes to planting an organic herb garden, the type of seeds used is of the utmost importance. You must be positive the seeds are completely and totally organic seeds. To get the full benefit of organic, the seeds have to be chemical and pesticide-free.
An organic herb garden, just like an organic vegetable garden, should be mapped out on a piece of graph paper. This is especially useful for herbs; because some organic herbs will actually flourish more bountifully if they are planted next to other certain herbs. You can do some further research about this, or you can ask the staff at an organic garden supply store, to assist you with this.
When it comes to choosing which herbs to grow; in your organic herb garden, you have a large amount to choose from. Some of the more popular herbs include the following: Basil, chives, chamomile, parsley, oregano, lemon balm, and you can even grow catnip. The organic seed packets should provide the proper growing instructions; including when to plant them and precise directions on how to plant them for maximum growing results.
The right location will make all the difference
There are so many things to consider when you decide to plant an herb garden. The first is location. You need to remember that most of the plants in this garden are going to be used in the kitchen. The best place to put them would be by the kitchen.
You may want to have the fresh herbs available for cooking but easy access is always a key role in how many of them actually make it to the stewing pot. When the herbs are right within walking distance of the kitchen you are more likely to run out and pick a few leaves to use. If you have to go all the way to the back of the yard, you may not feel so inclined to add that particular flavoring to your dish.
You do not need acres of land to have a fantastic herb garden. You can have more than enough space for the most common herbs in a five-foot square area. You must remember the fact that herbs tend to spread rapidly when growing. You can start out with five feet and within a few short months have the entire section full.
A sunny location is a good choice for your herb garden. One that gets partial shade in the afternoon is best. Herbs love the sun, but too much can make them wither or sprout up and go to seed quickly. Once an herb goes to seed, it can become woody. However, when you do not allow the plant to have the light of the full sun, you can have spindly little plants. This is not what you want in an herb garden.
In the full sun, the plants are able to develop luscious green foliage and intense oils.
The quality of the soil
You will find that because most natural herbs were once weeds, and in some cases still considered as such, they will grow in almost any soil. You must remember that they are plants and as such must be treated accordingly. You should use natural fertilizer if you can. The herbs like to have a more neutral type of soil. Just by adding some dead leaf compost and tilling it under when planting can make the herb garden grow better than ever.
The better quality of the soil, the better your herb garden will grow. However, most herbs will grow anywhere. As a matter of fact, you may find they will grow right out of the nice bed you have prepared for them and into the lawn. There is an actual benefit to this; the smell is fantastic when you are mowing the lawn. Just walking past and brushing up against the fragrant leaves releases a wonderful aroma into the air.
Get started with the basics
The main problem many new gardeners face is what to plant and what to leave out. It is not advisable to try every herb all at once. The best way to enjoy your culinary garden is to choose four or five hardy varieties of an herb you will use in the kitchen. This will allow you to get started with the basics of growing an herb garden. It is a great experience which you will be able to enjoy year ’round.
Some of the more hardy varieties include basil, oregano, and mint. Most herbs are hardy enough to be grown anywhere in the country. There are some which are only going to grow in more tropical climates. You should check the hardiness zones of the plants you want to grow before you purchase them. This can save you from disappointment.
Growing your herb garden is not hard at all. Most of the herbs tend to themselves.
When you finally decide on a sunny area for the garden, make sure it is tilled up smoothly. The rich dirt can be bolstered with nutrients if you like. A standard garden fertilizer is all you need.
Plant the herbs inside
You can either start the plants in the house during the winter, six weeks before the last frost, or you can sow the seeds directly into the ground. You must make sure if you start the seeds in the house, the plants are hardy and can take being transplanted. Some do not like to be moved once they have started growing. The easy varieties, like the mint family, seem to thrive on abuse. It is as though nothing can kill them.
The plants you start in the garden must not be planted until after the last frost is over. The ground must be warm and ready for growing. If you plant too soon the seeds will only rot and not germinate. The most successful way is to start the seeds indoors. This way there is no chance of the weather turning and having the seeds die.
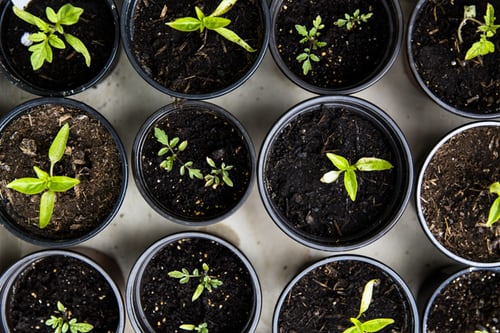
To start the seeds indoors, it is best to use gardening trays. You can mark each tray with the seed variety you have planted in them. This makes it easy to know which is which. At an early stage, they will all look the same. The trays can be purchased in either a self-watering variety or you can maintain a constant watering source for them. The herbs are not really hard to grow at all. You just have to have patience.
You will want to use a sterile medium for starting seeds. This can be as simple as good potting soil. One that is full of sticks and other debris may still hold contaminates. This is not a good potting soil to start the seeds in.
You can use this soil for later use when potting the plants, but do not use it to start your seeds. Some people have had success with it, and some have had major disappointments. It is always safer to just buy a good potting soil with no contaminates.
The soil can be put into the trays for the seeds at about two inches deep. This will allow the new plants to generate a good rooting system. The plant’s life is in its roots. You need to make sure the roots will be able to expand.
The watering of a new planting system can be hard. This is why I recommend a self-watering system. The soil does not dry out nor does it get too moist. The moisture stays just right for the seeds to germinate.
Some people put the seed trays on heat pads to keep the soil warm. This is not necessary for germination. You should cover the trays with some sort of lid. Many of the trays come with lids. If your tray does not have one you can make one out of the plastic wrap. Just make sure to remove the plastic once the plants start appearing.
It can take up to two weeks for some of the herb seeds to start germinating. When they do you will see the little sprouts everywhere. Do not try to thin them at this point. You should however remove the plastic. One tip you may want to take advantage of is this. The plants were in a warm place while the lid or plastic was on. You may want to remove the lid for a few hours each day for a couple of days to allow the young plants to acclimate.
This will allow the seedlings to get used to the colder air of the house. It will also keep in some of the extra moisture needed by the plants as they grow.
There is no need to fertilize the young plants at this point. That will come soon enough. You will want the plants to get stronger and a little bigger. When the first true leaves have formed, not as they are forming but when they have formed, you can start to weed out the excess plants. Thin the plants to about two inches or more apart. You must remember that natural herbs are actually weeds. The strongest will survive.
The new plants are a little temperamental. You cannot ignore them and expect them to survive. Proper lighting and watering are needed to make them grow. As they get bigger you will want to transplant them into containers so they can grow stronger for the outdoors.
The soil you transplant the new herb seedlings should be light and loose. You will want the roots to be able to breathe and not drown. Proper drainage is necessary when you re-pot the plants, as well. Keep the pots a little on the small side. You want the plants to develop a good rooting system, but you want to force some growth up top as well.
As the plants mature you will want to weather them. This is nothing more than taking them outside for a breath of fresh air. When the weather is warm enough, you can take the new plants outside to soak up the bright sunlight. This will acclimate the plants to the outdoors.
If you do not include this step, the plants can go into shock. Just putting them straight into the garden without any gentle acclimation could cause the young plants to die. They are not used to the colder nights and brighter days. This tends to put them into a state of shock. Plants do not like a shock.
Once you have weathered the plants for about a week or so, you can start to transplant them into the garden. Select the spot where you want each herb to grow. I guarantee this is not where they will stay.
Natural herbs tend to spread and spread they will. They will spread all over the place if you let them. The nice thing about herbs is the reason you are growing them is to use them. To use herbs you must prune the plant. Pruning and clipping cut down on growth and spreading. There is a way to keep your herb garden under control.
You can always grow them in a container. This will make sure growth and spreading do not get out of hand.
Organic herb garden growing tips
Your organic herb garden will require plenty of water to flourish. However, you need to make sure you do not either overwater or underwater your organic herbs.
Your organic herb garden would also greatly benefit from mulching and composting. It’s highly advantageous if you make your own organic compost.
You Have Organically Grown Herbs, Now What?
This section will cover some possible uses for your homegrown organic herbs.
Dry
The most common and easiest uses for your organic herbs is to dry them. To get optimal results for your dried herbs, you should pick them early in the day, when it’s cooler outside. To harvest your organically grown herbs properly for drying, you want to have a sharp pair of scissors or a sharp knife. Be sure to cut relatively large stems from your organically grown herbs.
Next, you have to wash the herbs gently. Remember, fresh herbs are delicate. After gentle washing, place them on some paper towels, or clean cloth. You want the paper towels or cloth to absorb all the excess water from the organic herbs.
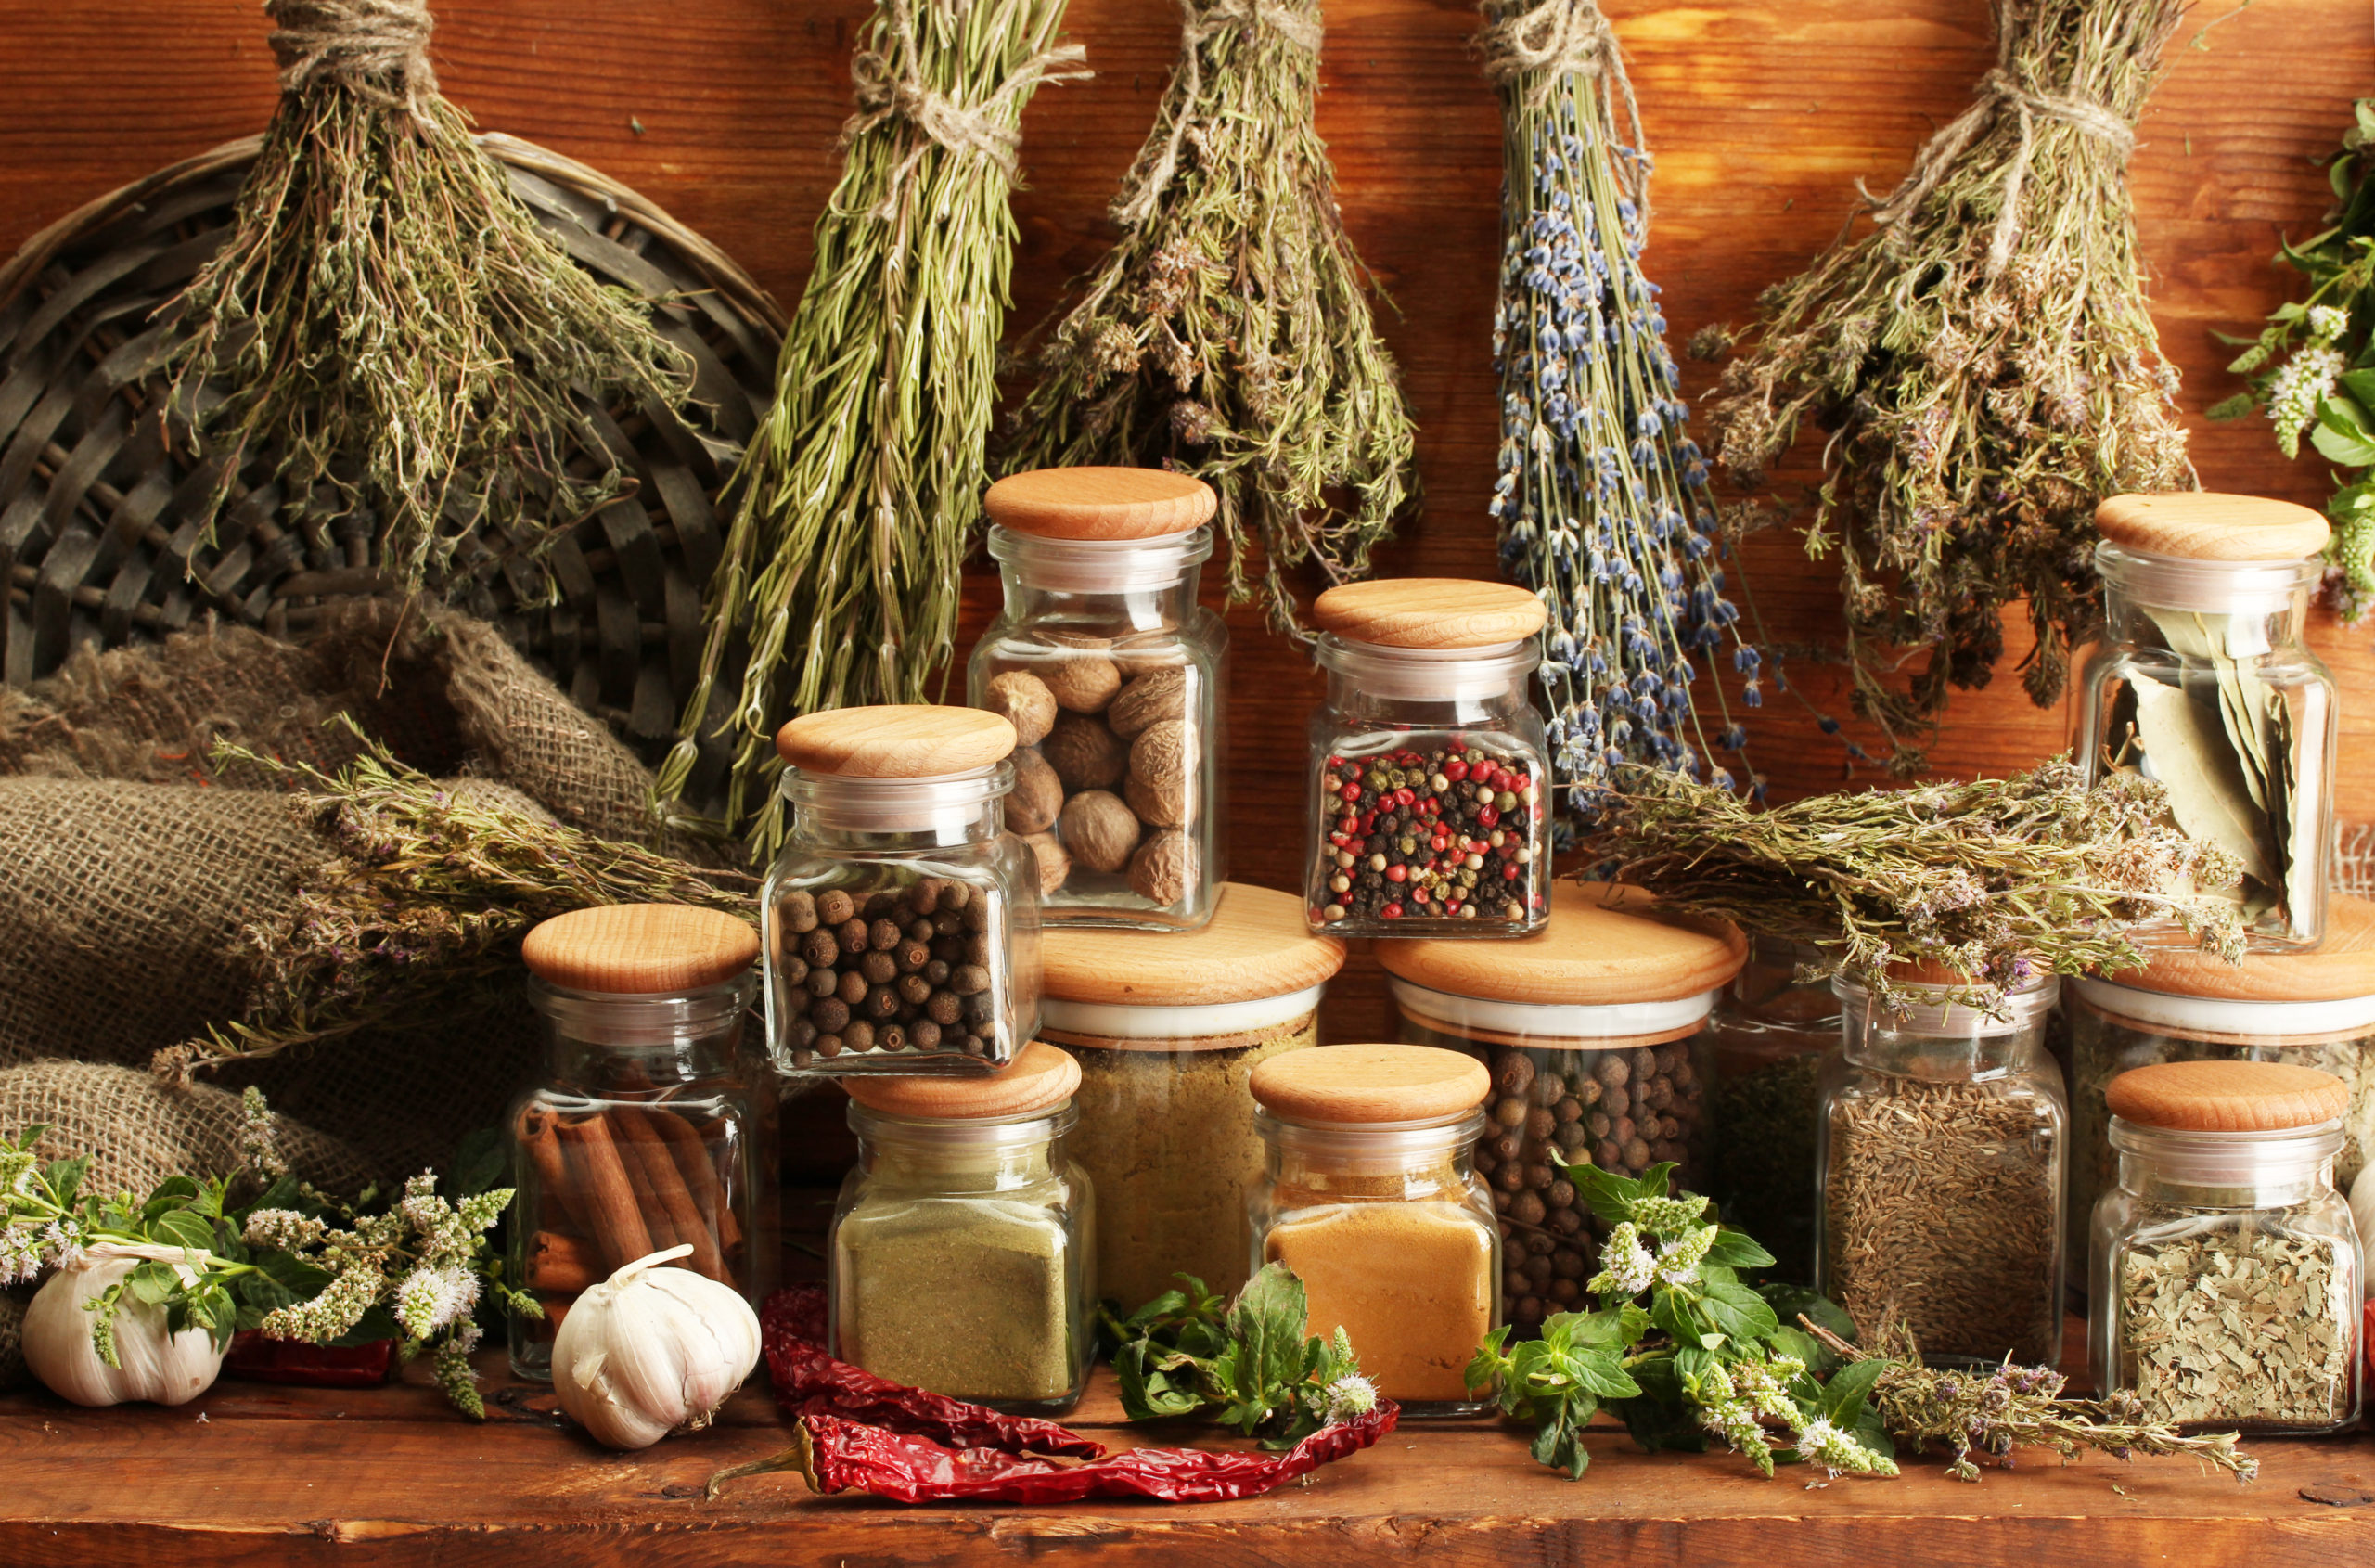
After the excess water is gone, you want to lash them together in bundles. Once you have them tied into bundles, you want to hang them up. It’s best if you can hang them somewhere where they won’t be obtrusive to you or your family. It’s worthy to note; you should try and find a location that is a low moisture area, to get the best results.
You want to try and find somewhere in your house that is dry and arid. For example, the bathroom, or a wet, dank, basement or laundry room wouldn’t be ideal places to hang your organically grown herbs to dry. You may hang your organically grown herbs in direct sunlight. However, don’t be surprised if the natural color fades out some.
Once your organically grown herbs are 100% dried out, you can crush them up and put them in jars. The shelf life for organically grown, dried, herbs is approx. a year.
Freeze
You can also freeze your home grown, organic, herbs. Freezing organically grown herbs is another excellent way to preserve the flavor and freshness of your herbs. To prepare them for freezing, you would harvest them the same way as you would dry them.
You would also wash them as previously described. Once washed, you want to lay them on paper towels or a clean cloth. However, the difference is, you want to turn them occasionally, while they are drying. It’s extremely important all the excess water has been absorbed out of them when you are freezing them.
You should leave the flowers and leaves intact on the stem of your organically grown herbs. When freezing organic herbs; they retain their flavor best, if the flowers, leaves, and stems are left intact; when put into the freezer.
Once the excess moisture is completely gone from your organic herbs, place them in freezer bags. It’s a good idea to use a marker and write the date on the freezer bag. This is because frozen organic herbs are most flavorful if they are used within 6 months of freezing. When you want to use your frozen organic herbs, take them out of the freezer bag. Then just crumble off some leaves and put the unused portions into the bag and back into the freezer.
Herb vinegar
Another popular use for organically grown herbs is to use them in herb vinegar. Herb vinegar is excellent to use on salads or a cooking additive when preparing vegetables. The flavor combinations are only limited by the herbs you grow and your imagination.
The supplies you’ll need for making herb vinegar
Sterilized glass jar, with lid
Your home-grown, organic herbs
Vinegar
Just about any vinegar will do. White, wine and cider vinegars are all fine choices. The only word of caution is that cider vinegar has a strong “bitey” flavor already. Therefore, you’ll have to compensate for that flavor when trying different flavor combinations of the herbs you want to use.
Herb vinegar preparation
Harvest and wash your organically grown herbs, as discussed above. After they are washed, place them inside the jar. Pour in your choice of vinegar(s). Fasten the lid tightly to the jar. Let your herb vinegar stand for a few weeks. After you’ve let them sit for a few weeks, strain out the herbs. Once the herbs are strained, you’re ready to use it for cooking or salad dressing.
Herb oil
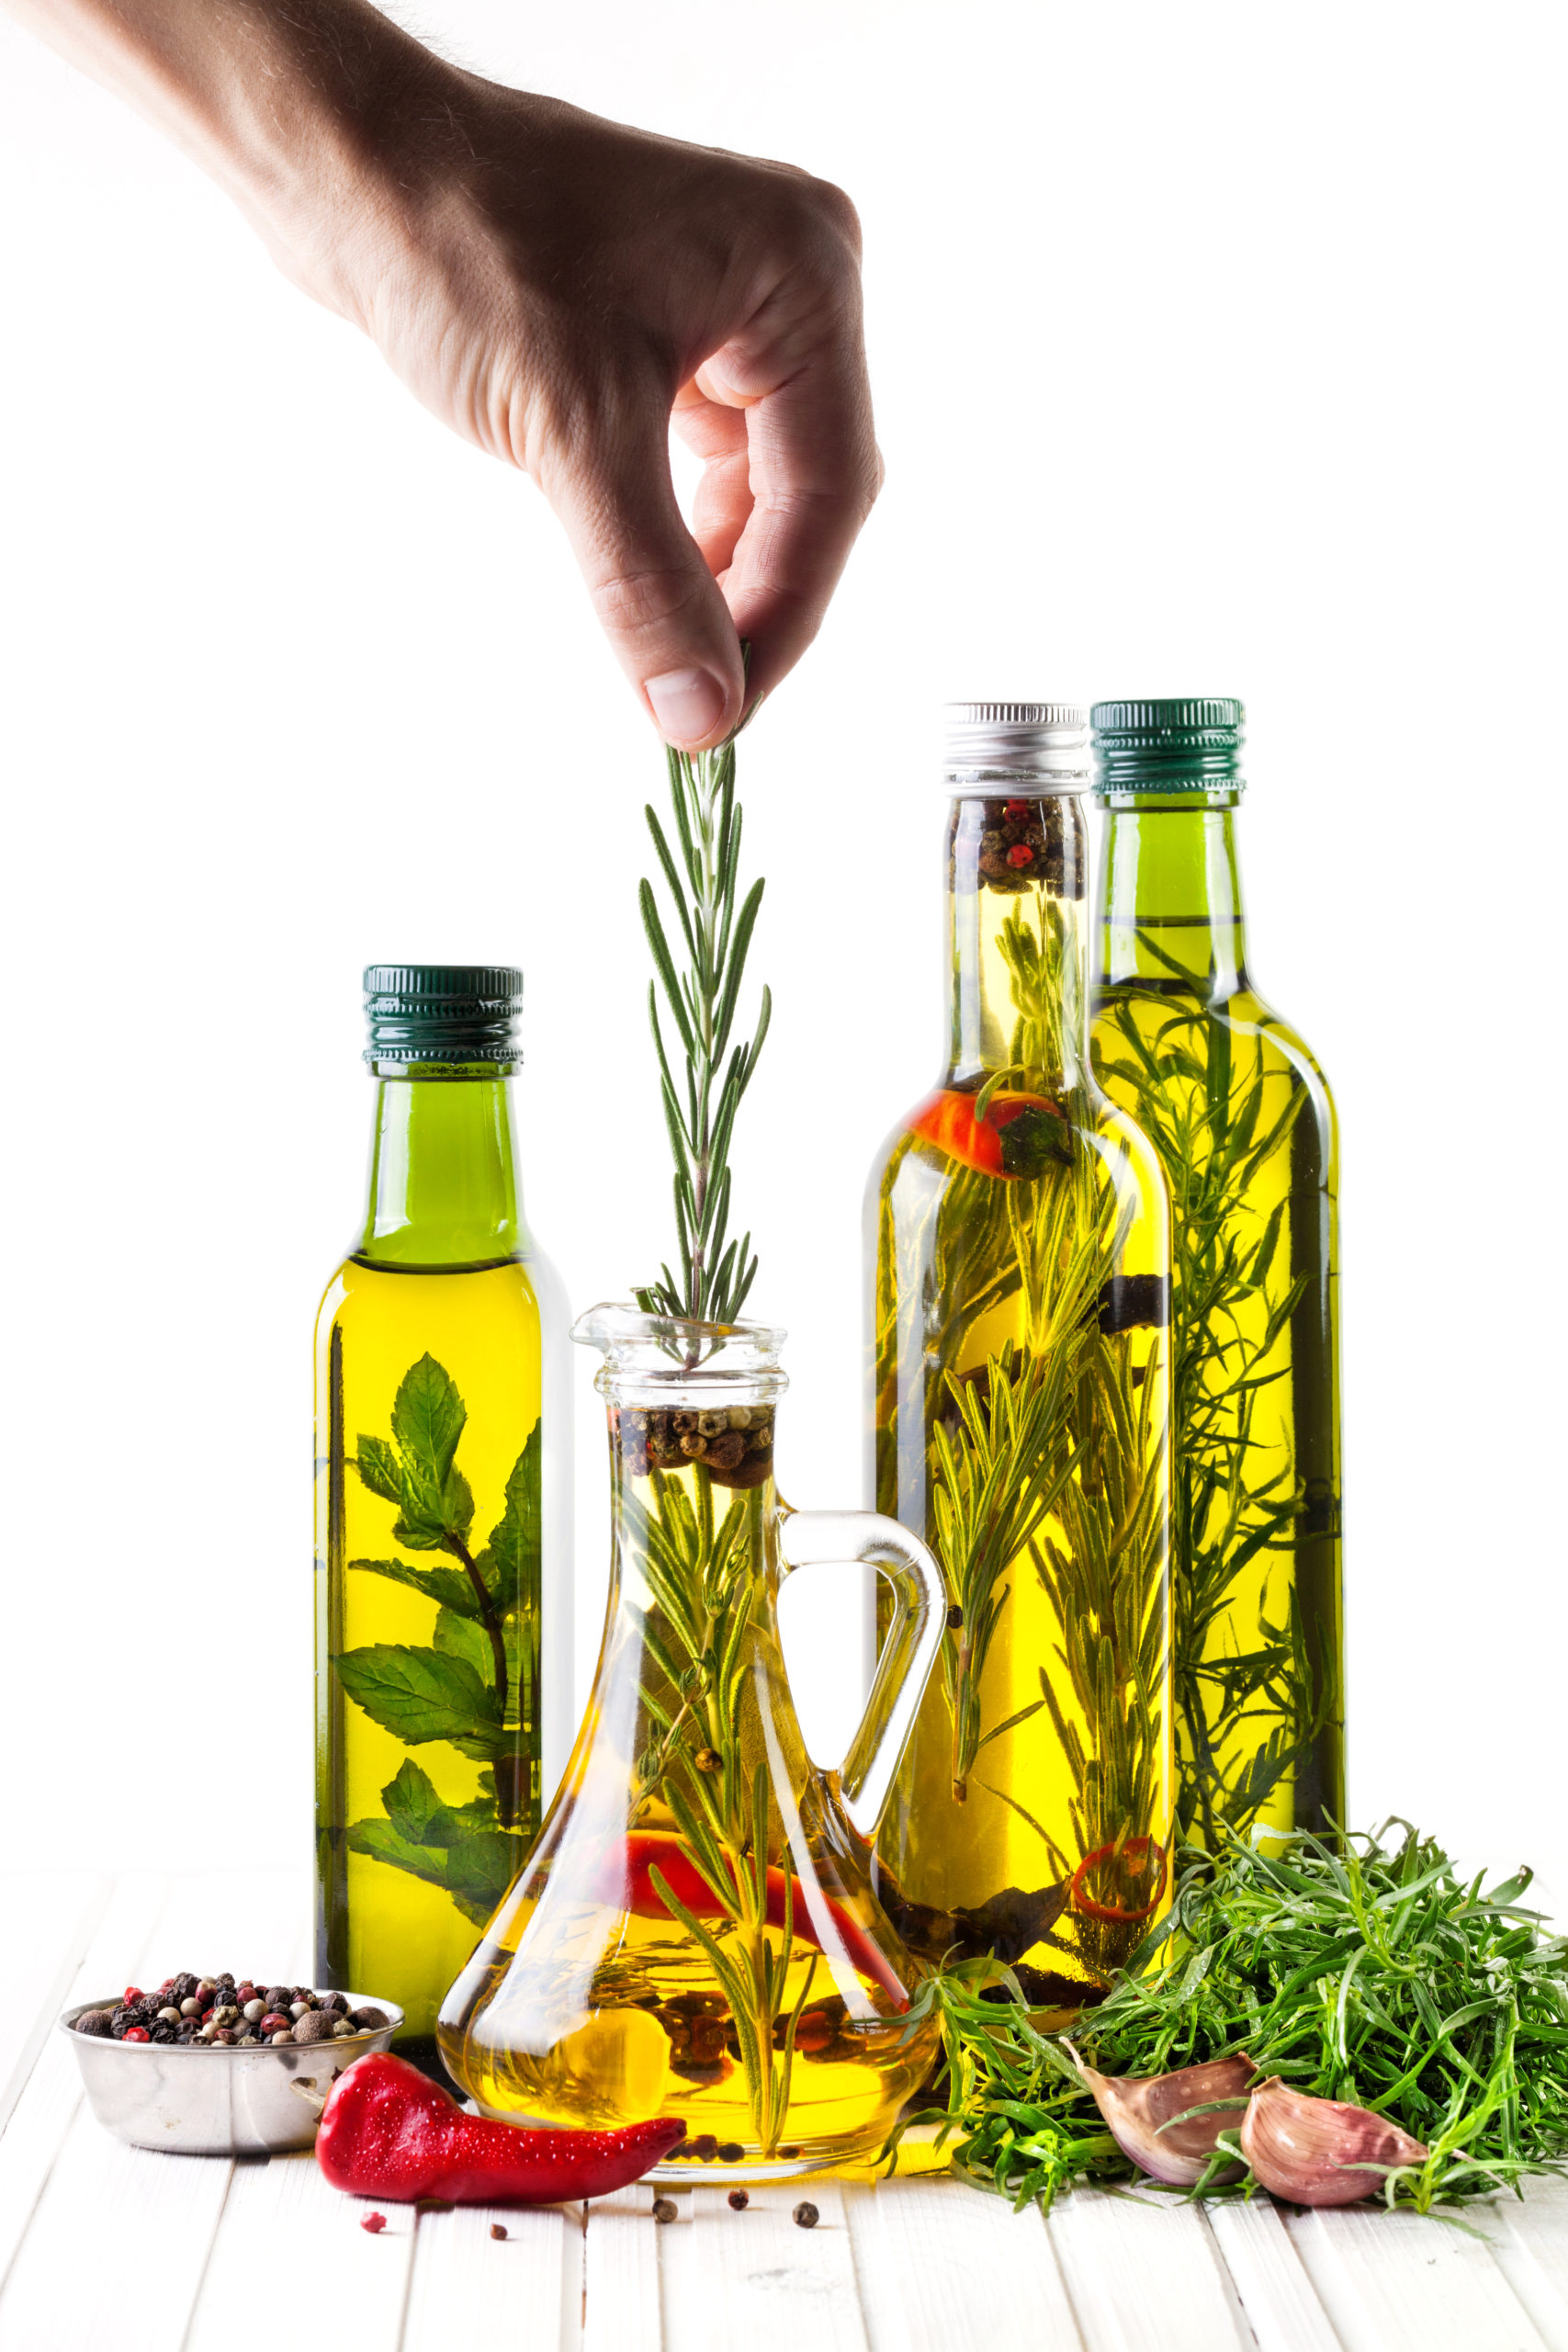
Lastly, you can use your organically grown herbs to make organic herb oil. Organic herb oil is excellent to use on salads and to cook with. Organic herb oil also makes a fantastic dip for bread. Believe it or not, you can also bathe with organic herb oil. Organic herb oil can also be used to moisturize your skin.
A HUGE word of CAUTION, when it comes to herb oil: You MUST keep it refrigerated. Herb oil is the ideal place for certain, including fatal, bacteria to live, grow, and thrive in. It is imperative you refrigerate your herb oil. It is also imperative you only keep the unused herb oil for 2 weeks, if fresh herbs were used, in the preparation of the herb oil. After 2 weeks, throw it away! If you didn’t mark a date on the jar and don’t know how long it’s been in there, throw it away! Someone forgot to put it back in the refrigerator, throw it away! No exceptions!
If you prepare your herb oil with fully dried out herbs; you can store the unused herb oil, in the refrigerator, for up to 4 weeks. Once again, when the four weeks are up, throw it away. If you didn’t mark a date on the jar and don’t know how long it’s been in there, throw it away! Someone forgot to put it back in the refrigerator, throw it away! No exceptions!
The supplies you’ll need to make herb oil
A sterilized jar, with lid
Your home-grown, organically grow, herbs (either fresh, frozen, or dried. Remember, if you use dried herbs, you’ll be able to store the unused portion in the refrigerator longer.) Oil
You can mix the herbs with any oil you prefer. If you’re going to use the herb oil primarily for cooking, it’s highly recommended you use extra virgin olive oil.
Herb oil preparation
Pour the oil of your choice into your jar. You want to make sure the jar is filled about halfway full with oil. Next, put your herbs into the oil. After all your herbs are in, fill the jar completely up with oil. Lastly, place the lid onto the jar tightly. Label the date and refrigerate promptly.
As you can see, there are many uses for organically grown herbs. You will save money by not having to buy your favorite herbs at the store anymore. You can just grow them yourself. You’ll also notice a huge taste difference of your organically grown herbs, compared to storebought ones.
Did you find this post useful, inspiring? Save one of these pins above to your healthy lifestyle board on Pinterest.



0 Comments
Trackbacks/Pingbacks